Showing posts with label monogram. Show all posts

Friday, March 6, 2015

Monogram On My Mind


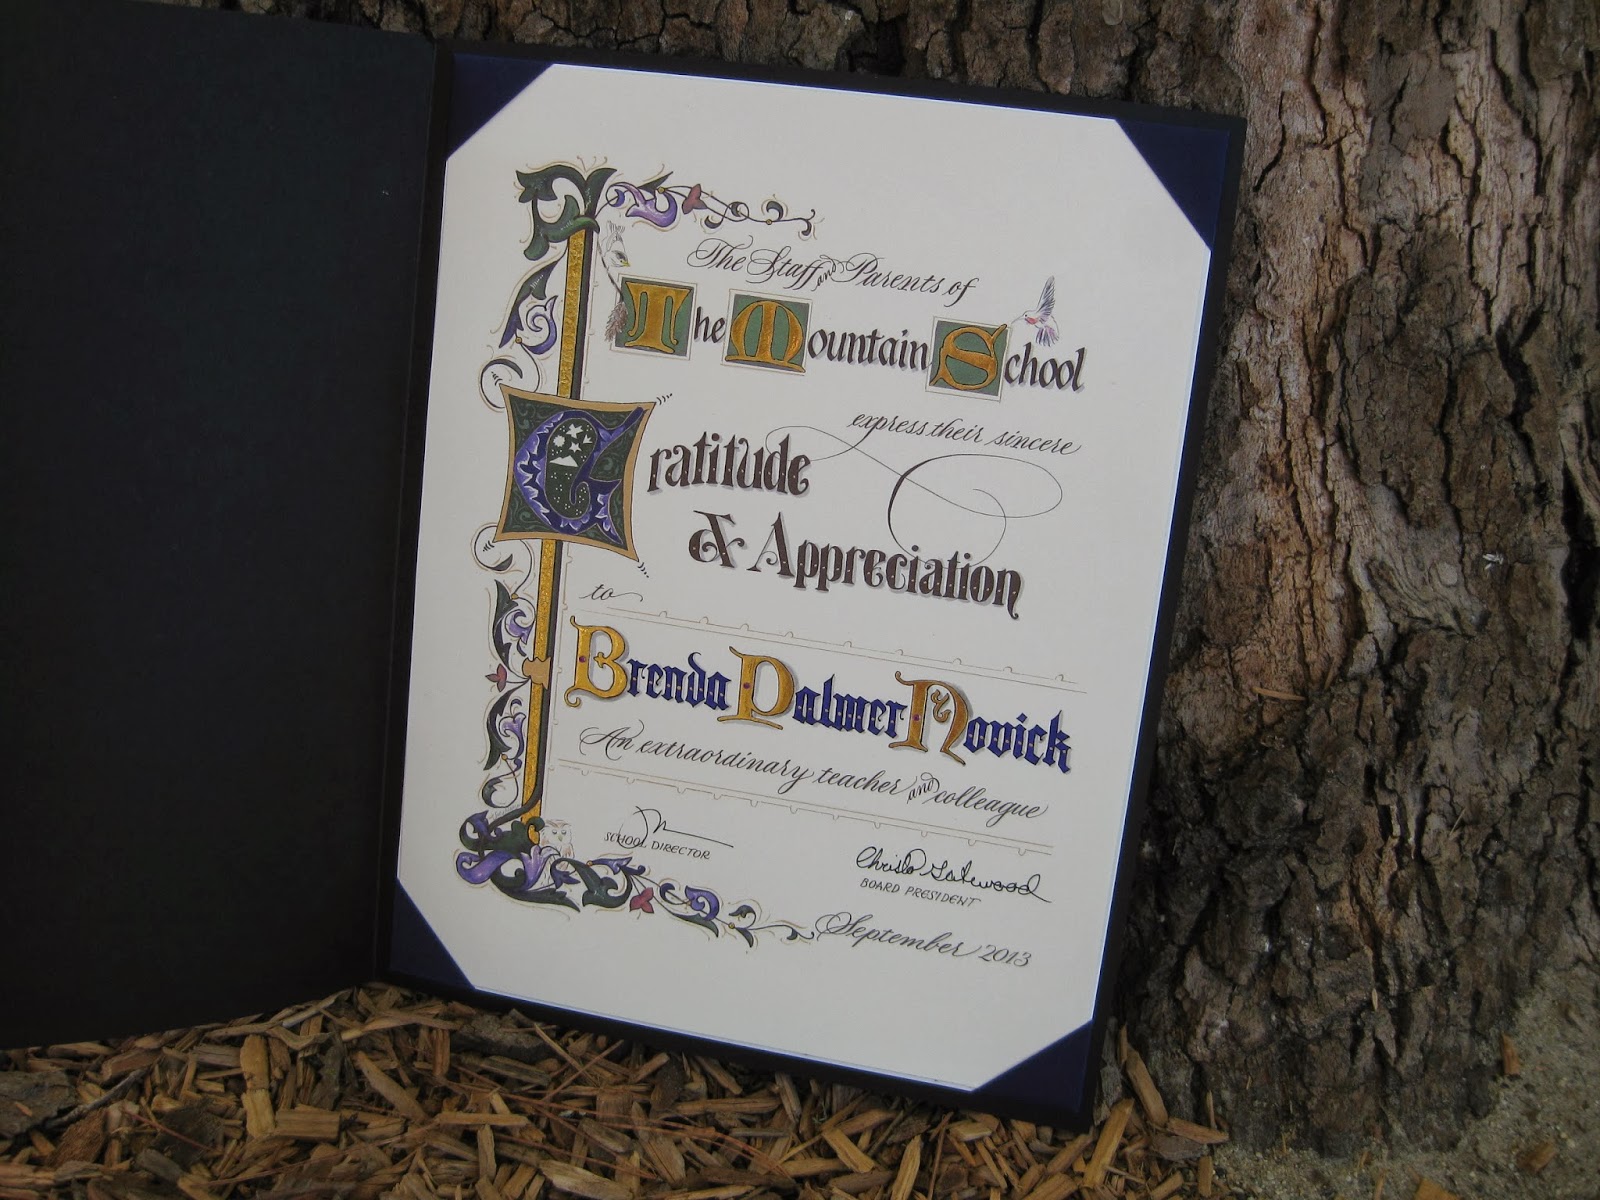
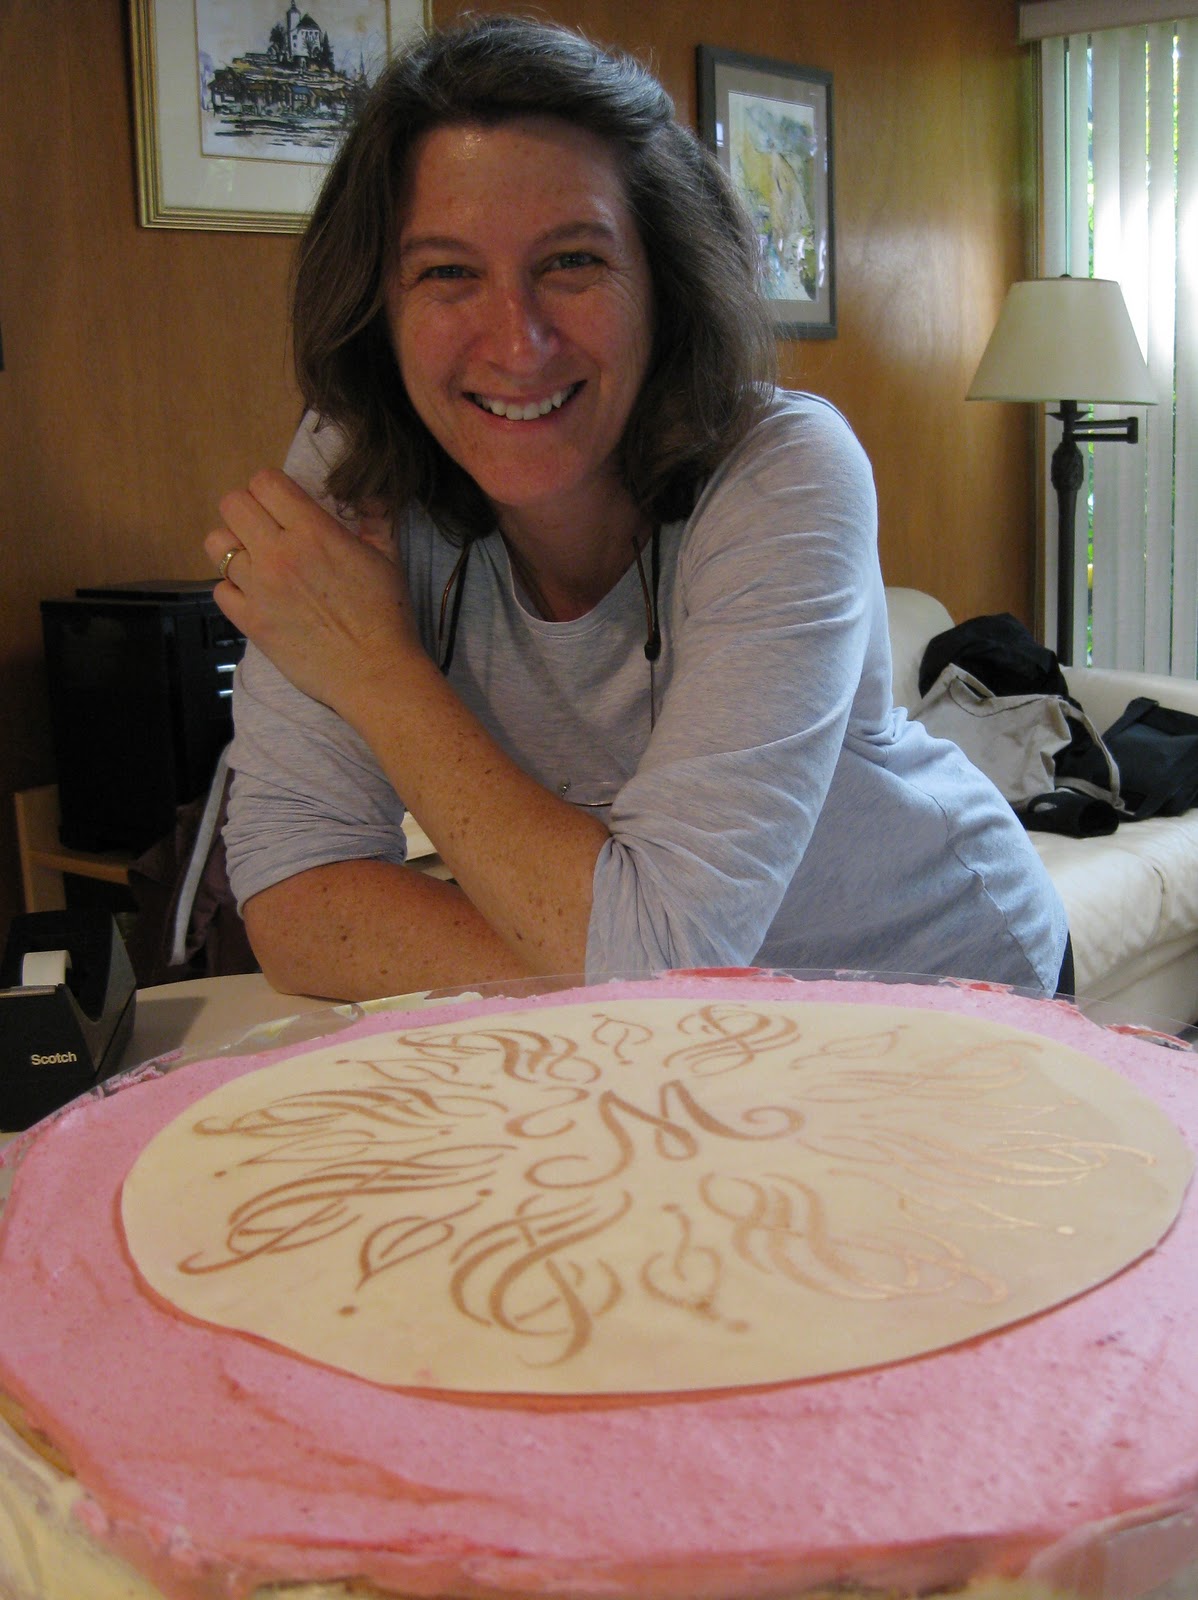
Recently had a visit from a dear friend who showed a gratifying interest in my work in the studio. I wanted to thank her for that, and for other favors received...so hoped she would enjoy a little bit of glitz and bling!


Thursday, August 14, 2014

B is for...


I always leave the annual IAMPETH conference full of enthusiasm and fresh inspiration, ready to experiment and stretch my comfort zone, and this year is no exception. What a week! There is much to tell, but I'll start here: colored pencils! Bob Hurford taught a short evening session class on the topic and I've been playing around with illumination using Prismacolor Premier pencils. Definitely slower than gouache or watercolor, but for me, easier to control! The "B" is an outline by E. E. Marlatt; the gold is Finetec Inca.

Friday, January 24, 2014

The (Second Half of the) Year in Pictures


Some of my designs for Ultimat Vodka Holiday Campaign
One of five San Francisco venues for Ultimat events in November/December
Very special commission
Commission: walnut ink, watercolor and Finetec gold
Zig Posterman pen on chalkboard fabric
Chalk on display board

Tooled gold leaf
JJ Monogram, pen and ink
JLM monogram, pen and ink
CMS monogram, pencil sketch
Gouache, gold leaf, ink on hotpress watercolor
Piece done in Risa Gettler's Visigothic Versals class; ink,
watercolor pencil,  Finetec gold


Sunday, October 30, 2011

I Yam What IAMPETH

So I never got around to reporting on my first trip to the annual convention of the International Association for Master Penmen, Engrossers, and Teachers of Handwriting  ("engrossers", not "and grocers", as someone thought I was saying). Was there ever an organization more in need of an acronym?  I think not.

IAMPETH was held this July of this year in Phoenix, which I'm sure is lovely in the winter months. [Phoenicians, you have my total admiration for staying cool in the face of three-digit temperatures day after day. I do not possess that kind of stamina.]  The convention is a virtual candy store for, well, penmen, engrossers, etc.  The mostly half-day classes were enough to whet one's appetite for more on a technique, and to see the IAMPETH rock stars in action, up close and personal.  And just as exciting, to meet in person some bloggy-type friends--you know who you are!

By far the most addictive class I attended was "Leaf Script Capitals" with White House calligrapher Rick Muffler.  The wonderful Jane Farr wrote a terrific blog post with tutorial here;  go read it!

Since my flight home was delayed (we do fog here in San Francisco in the summertime, not great for air travel but nice and cool--okay, freezing), I had plenty of time to start doodling an alphabet while waiting in the airport.


The inimitable Master Penman Harvest Crittenden had sat in on the class and suggested that there would traditionally have been a pearl nested in the greenery, so when I got back into the studio I played around with that a bit...

...then tried a rose...


...an acorn (no peeking, Harvest!)...


...and some design elements borrowed from a random cocktail napkin I found in my kitchen.


I used it on a birthday card (a little sloppy, rush job!)...


...and experimented with metallics and gratuitous acanthus leaves.

Great fun and great possibilities!


Tuesday, July 5, 2011

L Cake


I don't know anything about the flavors in this cake, since I delivered the stencil to Wendy just before dashing out of town!  I believe the top is a white chocolate disk, and the stenciling is done in green and gold lustre dust.  It is our smallest one yet.

Wednesday, April 20, 2011

Textured Letters with Barbara Close

Photo by Laura Bernabei

Some catching up to do!  The last weekend in March, the San Francisco Friends of Calligraphy sponsored a workshop by Barbara Close, whose store of techniques and enthusiasm seem absolutely boundless!  I always appreciate an organized, yet flexible teacher, and Barb was certainly all that.

Within the framework of creating textured letters, we played with watercolor, collage, paste paper, embossing, shadows and doodles. 

Photo by Laura Bernabei 
Photo by Laura Bernabei

Photo by Laura Bernabei
Photo by Henry Silva
We even made a lovely little folio in which to keep our creations.  (And always happy to find a use for my Czech glass button collection!)

Photo by Henry Silva
It was one of those more-process-than-product workshops where you leave with just a handful of creations but a veritable truckload of techniques and inspiration!

As an added bonus, Ruth Korch--my awesome table-mate and partner in crime--and I dashed over during lunch to the furniture sale in another building at Fort Mason and with Ruth's encouragement I scored this fabulous chair, covered abundantly with French calligraphy!

Photo by Laura Bernabei
All in all, a fun and relaxing way to spend a weekend.

Monday, April 11, 2011

Lemon Blackletter: Tim's Cake


I didn't get to see/taste this one in person since I was on my way back to beautiful Enders Island;  I dropped off the finished stencil to Wendy on my way out of town.  I do know that there was lemon, marzipan, buttercream, almonds and limoncello involved...yum...

Monday, April 4, 2011

More Calligraphed Confections: Marian's Cake


Wendy and I so much enjoyed making the "K" mandala cake that we decided to do it again, this time for my friend Marian,  a self-professed diva who is turning 75.  My idea was to work a stylized treble clef into the design because she is, after all, a soprano--but treble clefs are so, I don't know, ordinary.  There was a lot of trial and error involved, so I worked in pencil on this one.


This time I cheated a little bit and when I finally got the motif right I just made seven copies and pasted it up.  I added the leaves freehand for some finer contrast.  The dots were punched from black paper and glued, making much better circles than I could have done by hand.  Again I taped the design to the table, placed a piece of glass over it and then the stencil blank over that.  With my handy "burner" tool I cut the stencil in no time at all.  Then I headed over to Wendy's to test it with "old gold" lustre dust on parchment paper.


Wendy decided we should do the sides of the cake as well (a 14" creation!) and sent me home to make that stencil.  Again, I copied, cut and pasted using elements of the round top design.


By the time I got back to her house, she had applied the gold to the top of the cake, a perfect disk of white chocolate.


Just imagine:  layers of almond-flavored cake alternating with layers of raspberry mousse and lemon cloud illusion (lemon cream made with lemon curd).  To die for!  We stenciled the sides on two slabs of homemade marzipan (Wendy skinned the almonds herself!).  It was a more subtle look than on the white chocolate, probably because of the moisture element.


Here's the first half applied:


And here's the master pastry chef herself:


Back into my studio I set to work making a matching card for Marian with my trusty Zebra G nib in Aztec Gold Finetec on Opal Stardust cardstock and envelope.


By the time I picked up the cake the next day for the party, Wendy had worked her magic with piping, fresh raspberries and marzipan leaves.


At the party, the beautiful birthday diva serenaded us with her amazing voice (and we serenaded her back with "Happy Birthday")...


...candles were added for "past, present and future"...


...and then it was time for cake!


Wendy and I are having so much fun with this collaboration!  Stay tuned for the letter "T"!

LinkWithin

Related Posts with Thumbnails